With the release of Dash 4.1.0, we gained a significant new capability: the ability to choose the underlying web framework for our Dash applications. While Dash has traditionally relied on Flask, you can now seamlessly switch to FastAPI or Quart simply by setting a parameter.
This unlocks better performance  and greater flexibility for building custom endpoints directly alongside your dashboard.
In this post, I’ll walk you through the essentials of using FastAPI as the backend for your Dash app, complete with practical examples.

1. Installation
This feature was introduced in Dash 4.1.0 and further stabilized in the 4.2.0rc0 pre-release. To get started, ensure you have the required packages installed:
pip install "dash>=4.2.0rc0" fastapi
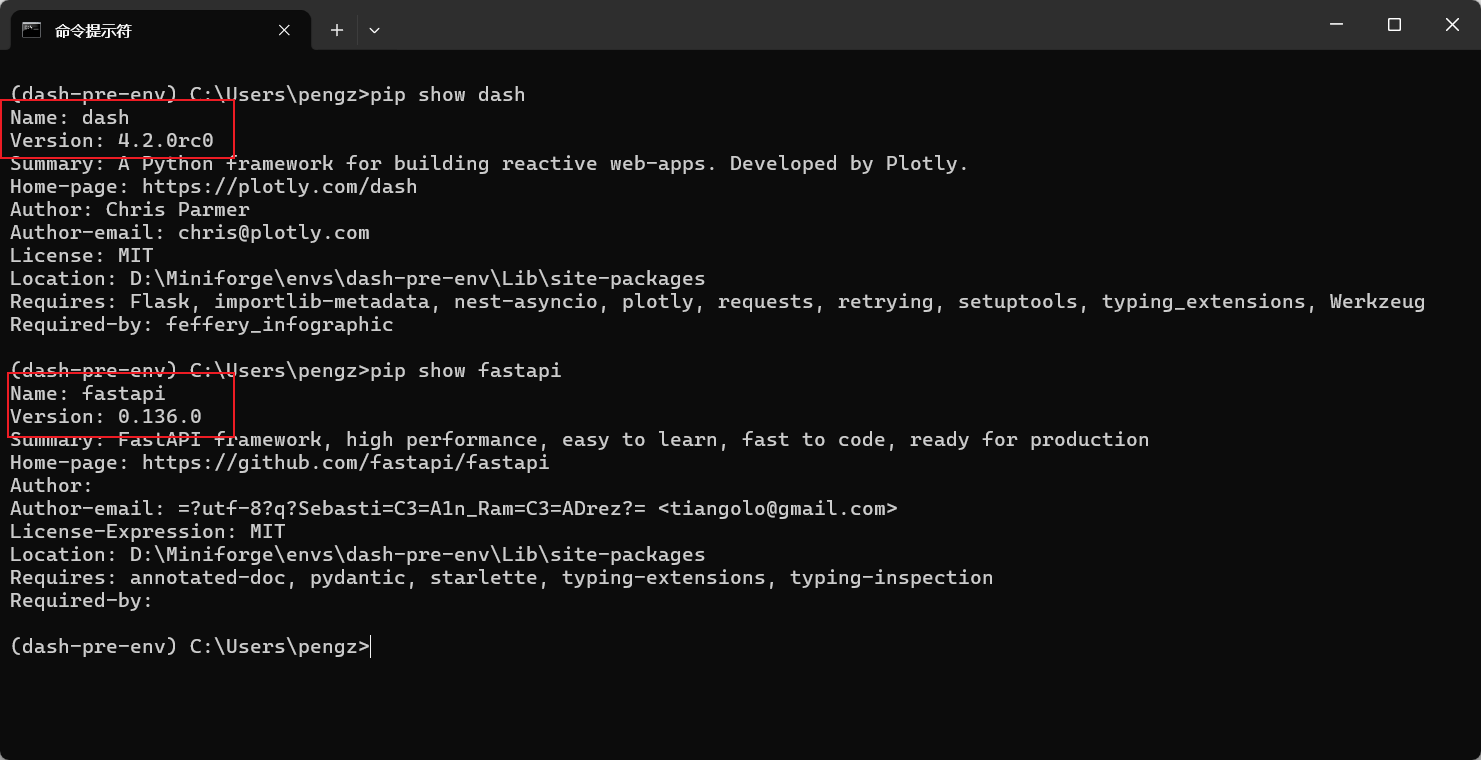
You can verify the installed versions:
2. Switching to FastAPI Backend
Creating a Dash app with FastAPI is straightforward. Just pass backend="fastapi" when instantiating the Dash object.
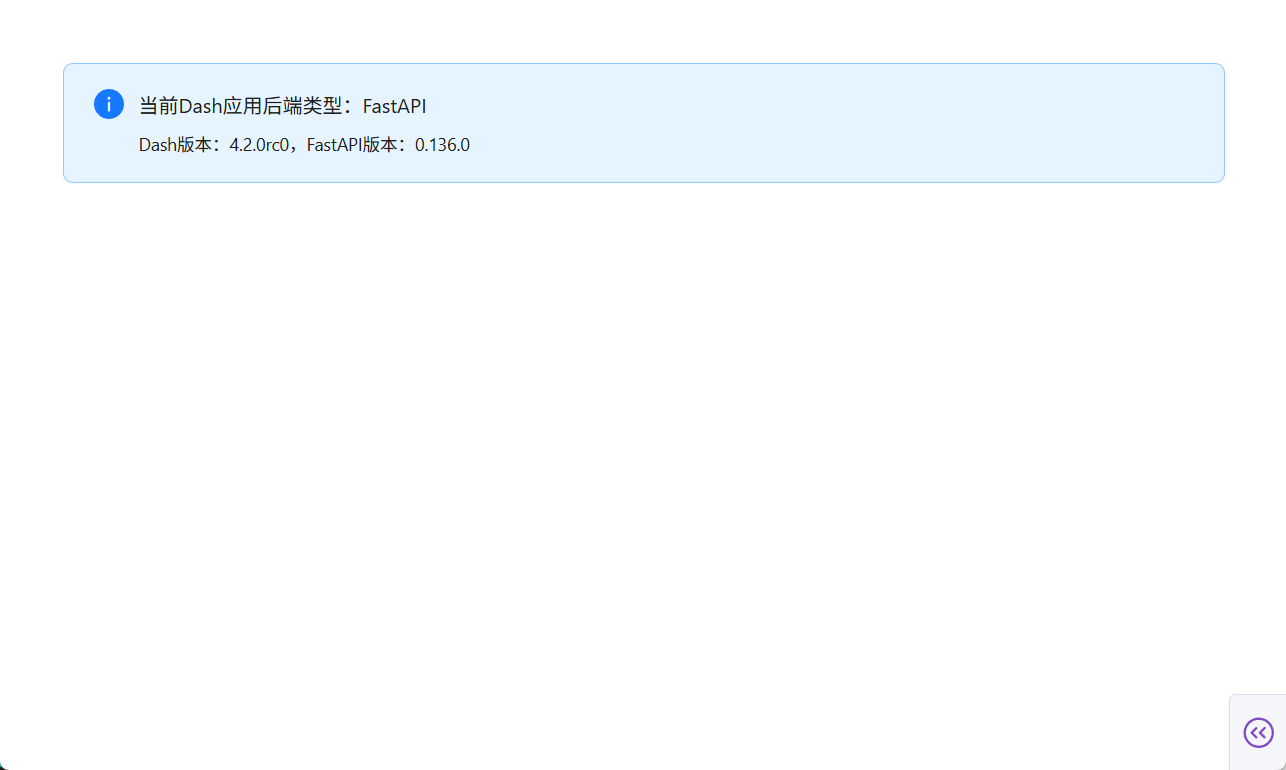
Example app1.py:
import dash
import fastapi
import feffery_antd_components as fac
from dash import html
from feffery_dash_utils.style_utils import style

app = dash.Dash(__name__, backend="fastapi")

app.layout = html.Div(
    [
        fac.AntdAlert(
            message="Current Dash Backend: FastAPI",
            description="Dash version: {}, FastAPI version: {}".format(
                dash.__version__,
                fastapi.__version__,
            ),
            showIcon=True,
        )
    ],
    style=style(padding=50),
)

if __name__ == "__main__":
    app.run(debug=True)
When you run this app, inspecting the network traffic in your browser’s developer tools will show the server header as uvicorn—the high-performance ASGI server used by FastAPI.

A nice side benefit: FastAPI’s hot-reload in debug mode is more resilient. If you introduce a syntax error, the server stays alive and attempts to reload once the error is fixed, unlike the default Flask behavior which often requires a manual restart.

3. Adding Custom Endpoints with FastAPI
Since the backend is now FastAPI, you can leverage its full power to add custom routes. The FastAPI application instance is accessible via app.server.
3.1 Basic Synchronous Endpoint
app2.py
import dash
from dash import html

app = dash.Dash(__name__, backend="fastapi")
app.layout = html.Div()

@app.server.get("/fastapi-basic-test")
def fastapi_basic_test():
    """Basic endpoint test"""
    return {
        "api": "fastapi-basic-test",
        "status": "success",
        "message": "Dash+FastAPI=⚡",
    }

if __name__ == "__main__":
    app.run(debug=True)
Accessing /fastapi-basic-test returns the expected JSON:

3.2 Asynchronous Endpoint
app3.py
import dash
from dash import html

app = dash.Dash(__name__, backend="fastapi")

@app.server.get("/fastapi-async-test")
async def fastapi_async_test():
    """Async endpoint test"""
    return {
        "api": "fastapi-async-test",
        "status": "success",
        "message": "Dash+FastAPI=⚡",
    }

app.layout = html.Div()

if __name__ == "__main__":
    app.run(debug=True)

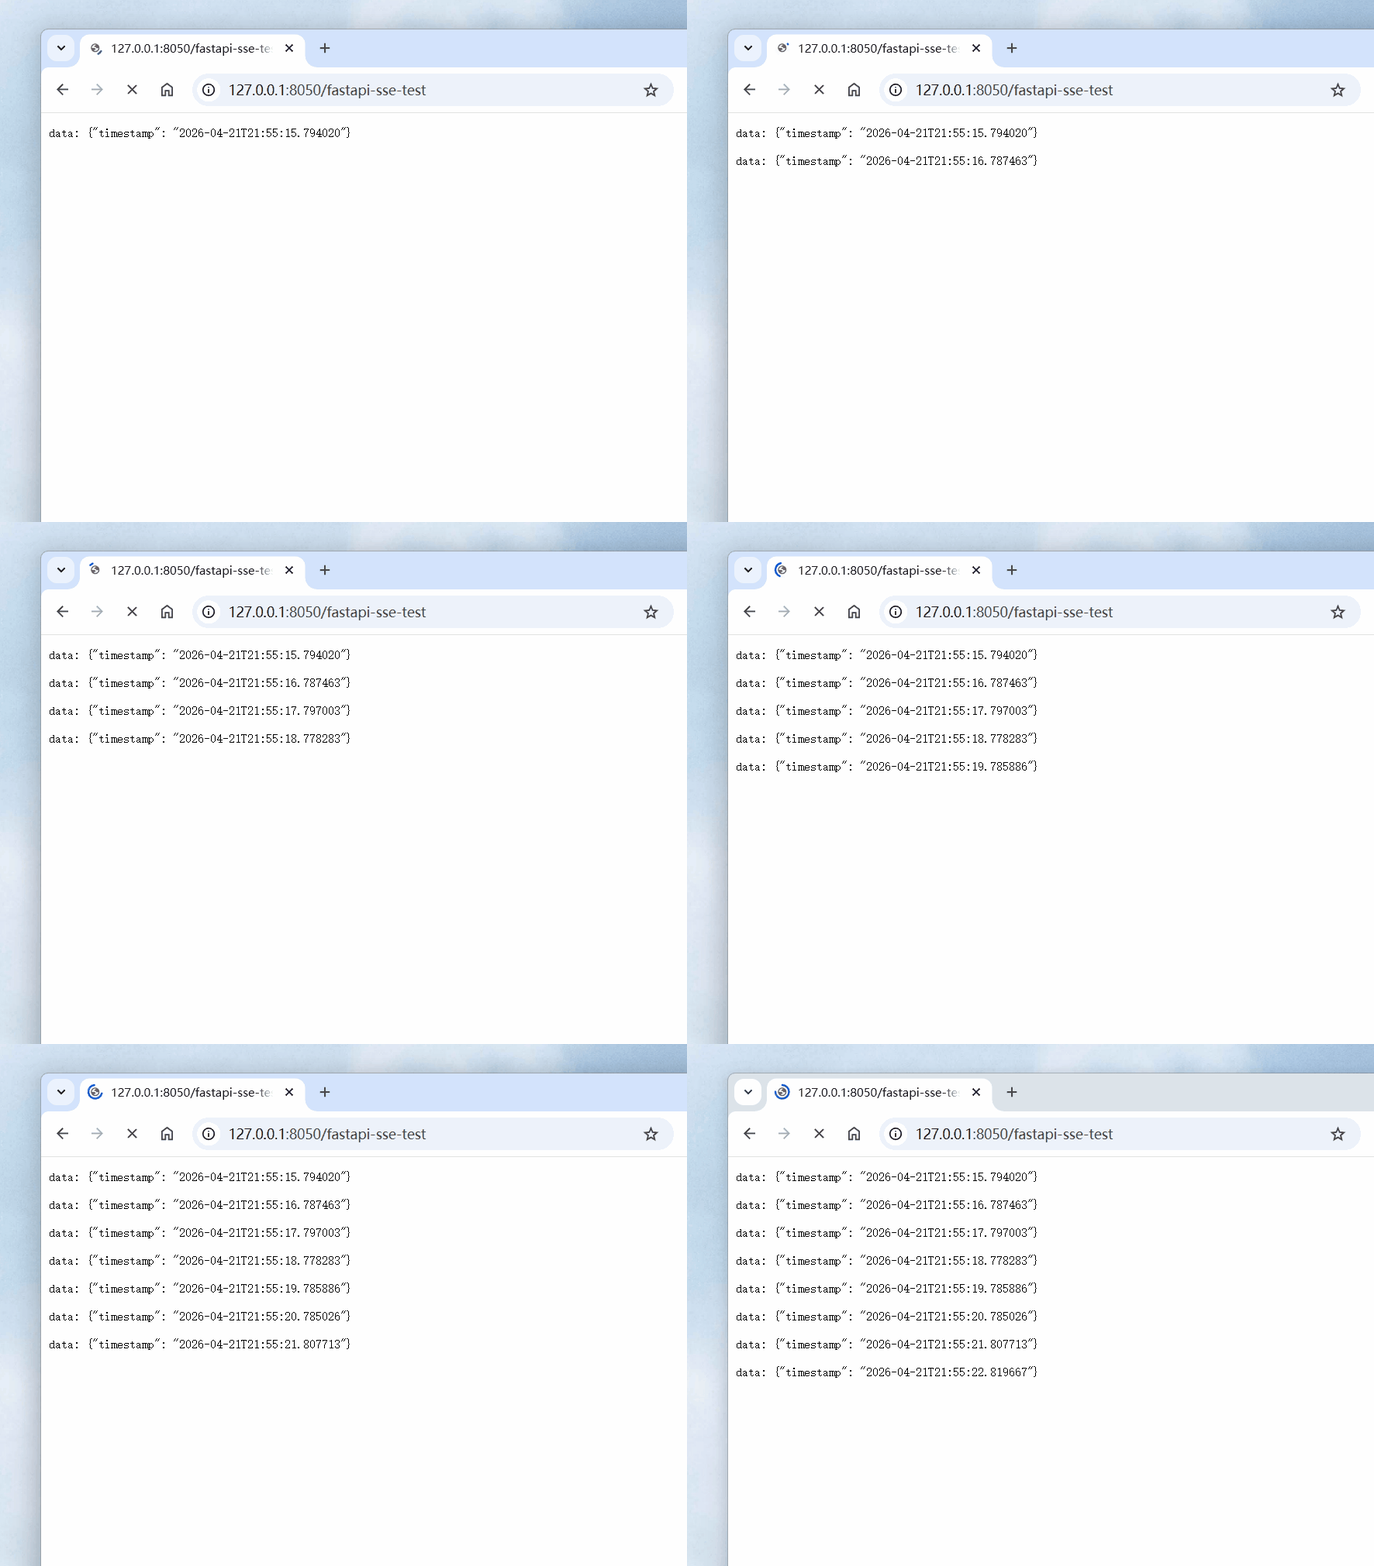
3.3 Server-Sent Events (SSE) Endpoint
app4.py
import asyncio
from datetime import datetime

import dash
from dash import html
from fastapi.sse import EventSourceResponse

app = dash.Dash(__name__, backend="fastapi")

@app.server.get("/fastapi-sse-test", response_class=EventSourceResponse)
async def fastapi_sse_test():
    """SSE endpoint test"""
    while True:
        await asyncio.sleep(1)
        yield {
            "timestamp": datetime.now().isoformat(),
        }

app.layout = html.Div()

if __name__ == "__main__":
    app.run(debug=True)
3.4 WebSocket Endpoint
app5.py
import asyncio
from datetime import datetime

import dash
from dash import html
from fastapi import WebSocket

app = dash.Dash(__name__, backend="fastapi")

@app.server.websocket("/fastapi-ws-test")
async def fastapi_ws_test(websocket: WebSocket):
    """WebSocket endpoint test"""
    await websocket.accept()
    try:
        while True:
            await asyncio.sleep(1)
            await websocket.send_json(
                {
                    "timestamp": datetime.now().isoformat(),
                }
            )
    except Exception:
        pass

app.layout = html.Div()

if __name__ == "__main__":
    app.run(debug=True)
WebSocket connection demonstrated using the WebSocket DevTools browser extension:

4. Production Deployment
Previously, deploying a Dash app often required additional WSGI servers like gunicorn or waitress. With the FastAPI backend, deployment becomes simpler and more performant using uvicorn directly.
Point uvicorn to the FastAPI instance attached to your Dash app (app.server):
uvicorn app:app.server --host 0.0.0.0 --port 8050 --workers 4

Conclusion
The ability to use FastAPI as a Dash backend is a game-changer for performance and extensibility. You can now easily integrate real-time features like WebSockets, build robust async APIs, and deploy with modern ASGI tooling—all while keeping your dashboard development simple with Dash.